
I survived the Windows recovery process — but just barely.
What started as a straightforward rebuild of an ARM device turned into a remote battle over Wi-Fi that felt more like horror than engineering. I am sharing my experience and in short, this is not a scalable nor end user friendly experience for any enterprise.
My Windows recovery process:
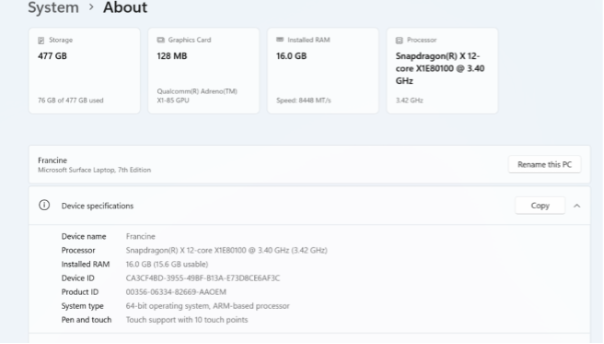
First: what was I building? Windows Surface ARM device – yes ARM so I was the guinea pig! We are on the Microsoft Partner Program for ARM but as we have not received our devices I was the first to test! 😨
I had to rebuild a new employee’s laptop. She lives in Toronto and is not in a technical or engineering role. I could not ship the machine back to the OEM as she would have been down her full first week of work.
I am super lucky as I was 1) guided by the best team in the world in multiple time zones @Michael Niehaus in the US and @Niklas Larsson in Sweden, 2) somewhat skilled in technology being a ‘cat herder’, 3) able to use a second machine. Bad news was, the employee was remote in Canada, only had access to home Wi-Fi and no on-site support.
Let’s start the process...
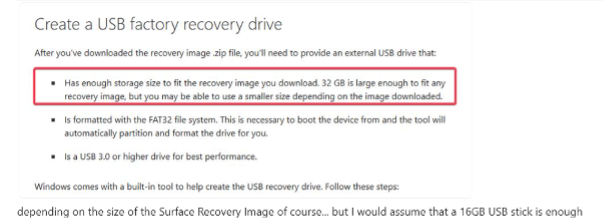
Already a nightmare, who has a USB stick! Do I go and buy one, or can I find one? Well, thank God I was staying with a dear close friend who happens to be a VP in a security company – she pulled all of her secure USBs. Well, it is not over, there is minimum requirement of 32GB. Well, out of all of them after going through 10... there was one! Thank God I trust her as no way would I have put any USB into my computer otherwise!
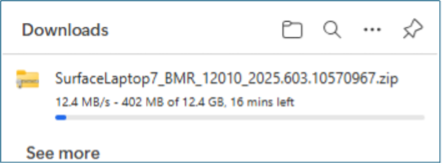
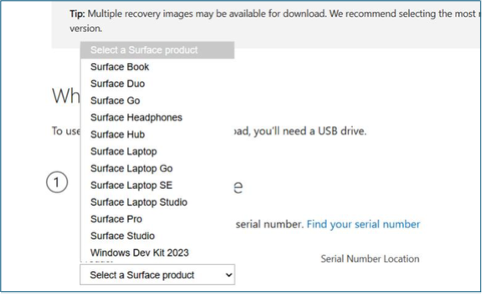
So I now kick off the recovery image and guess what - it took me 7 hours to download this image over Wi-Fi, and before you ask...no I had no access to a wired connection. Yes, horrific being remote! Okay, so after many hours of downloading, in parallel I need to get the Windows 11 image.
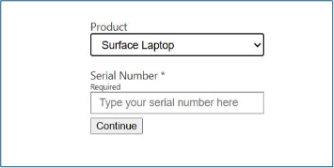
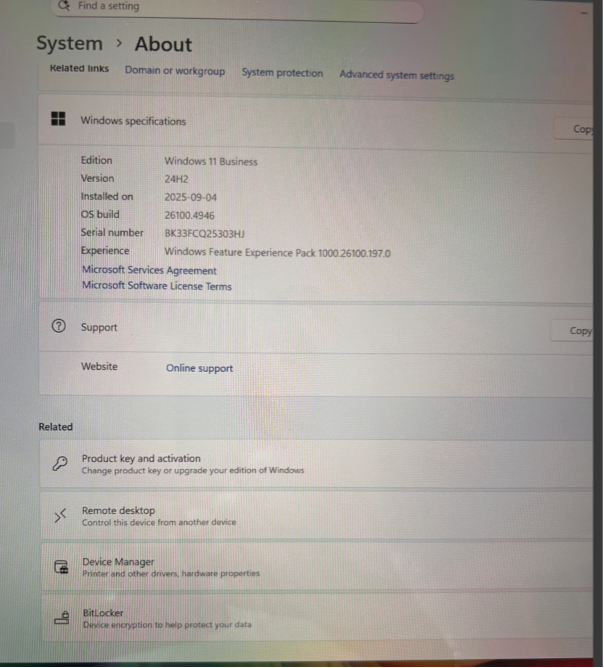
Oh and yeah in my older years, pretty hard to read that serial number on the back of laptop!!! Sugar, reading glasses here I come! 🙈
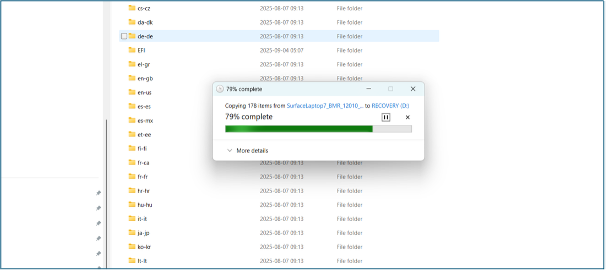
Now here is the funny bit, well not so funny... you cannot copy and paste the image or drag and drop as apparently there is not enough disk space even though it showed enough space. I then did as advised and used CTRL A to copy the files needed (which end user would ever be able to do this!) and then paste. Some users wouldn’t even know to open the zip! 🙈
Super great question – do I do this or not??? Apparently yes, and we all clearly know this!
The image finally finished after 2 more hours, pretty quick considering.
Now we are ready to rumble as I get sooooo excited. Hmm, maybe not...
Okay, plug in the USB recovery drive....thank God we did not lock out this drive in the 2Pint organization otherwise I would have been in a world of hurt. In my case, I could use the USB, so let’s kick off the process.
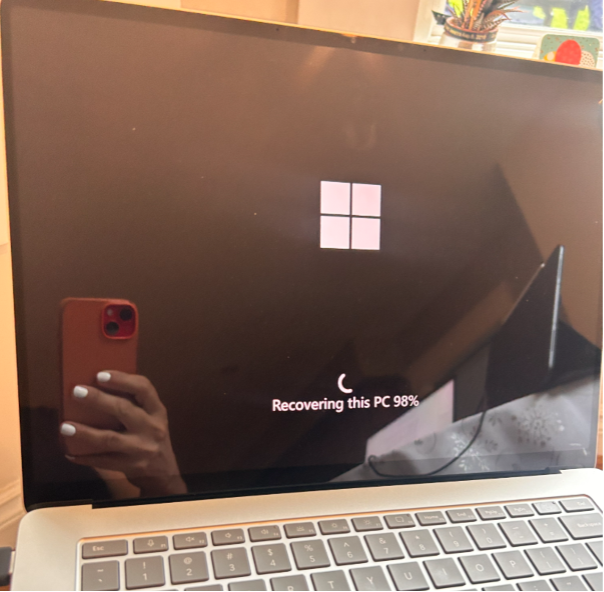
Still at this screen:
Next step: Try holding Volume Up and then press Power to get to the UEFI screen:
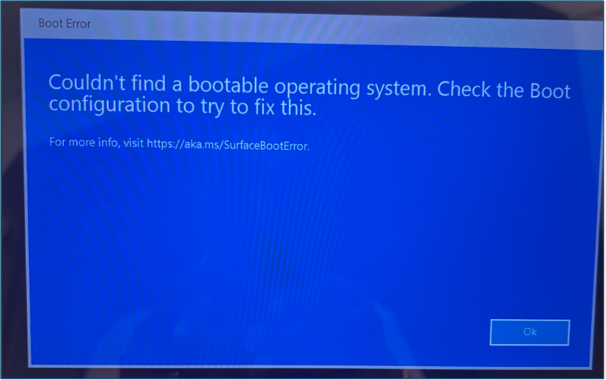
Nope, did not work. Tried swiping left on the touch screen, still nothing. I then did the good ‘ole power off trick 🤣, and got this on power up:
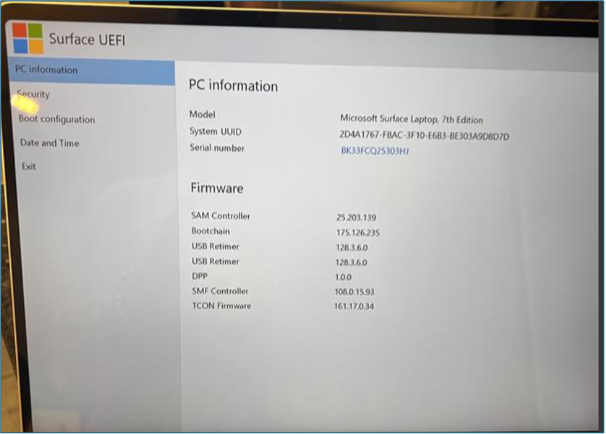
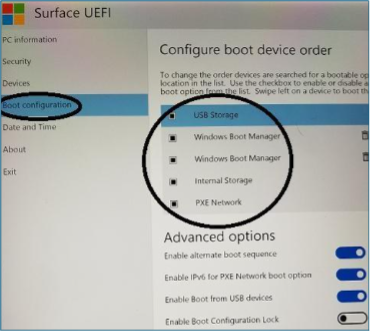
Niehaus said “Good work, that is what you want!” I then did the touch/click on the "Boot configuration" item on the left and then USB storage. Make sure recovery USB is plugged in when you boot from storage.

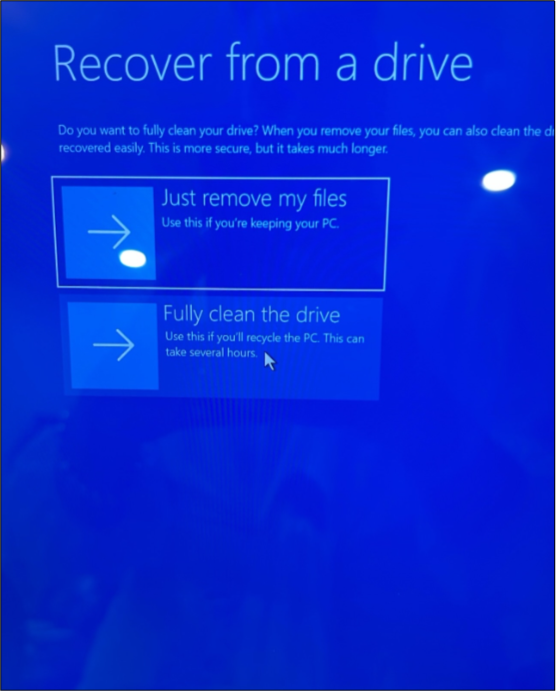
Freak out moment again – what do I choose? Both, I learn, could be okay. So I chose the first option as it is quicker, “Recover from my files.” Shorter is good if it works as sometimes it does.
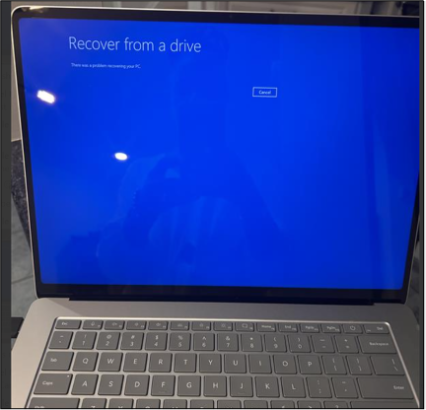
Oh no, not good! Something has gone wrong, perhaps USB, perhaps something else.
So I decide to do it again but this time choose:

Guess what, failed again. NOOOOOOOOOOOOOO!!!
Now I am into 12 hours of this build. 😭😭😭
Decided as it was time for bed that I would rebuild the USB stick overnight and try again in the morning.
Morning now, USB is built. Double checking the image was correct and getting fresh image. However, before copying, Niklas says “Try the following instead when getting the Win11 image”:
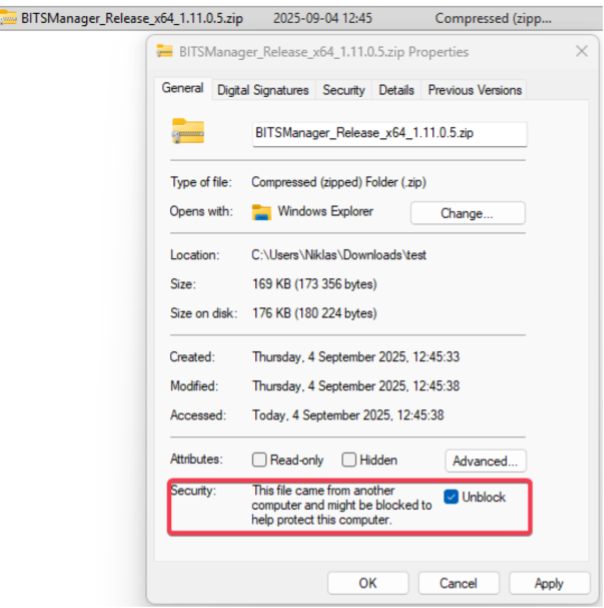
“Right click the zip, then click Properties"
This window then pop ups, check "Unblock" for “The files came from another computer and might be blocked to help protect this computer.”
Oh yeah, an end user would totally know how to do this!!!
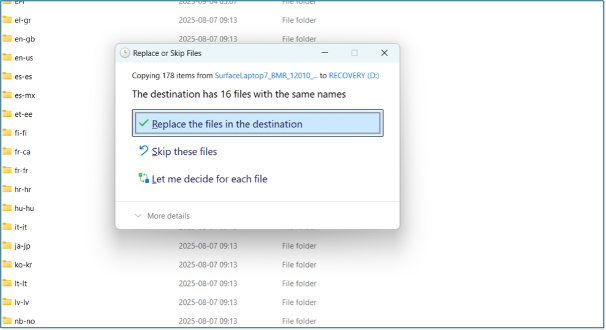
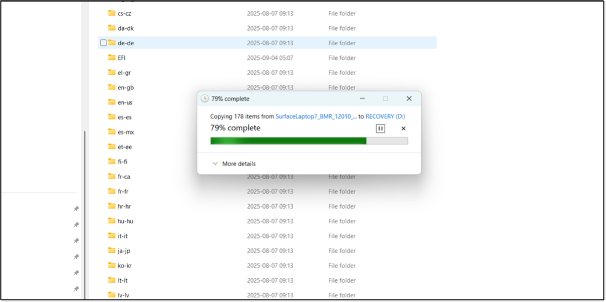
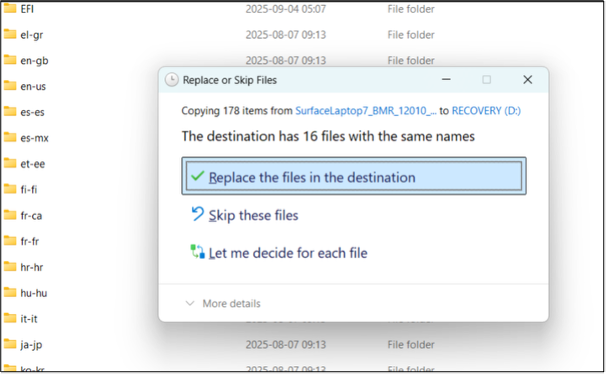
Now do the same process as before and with CTRL A and then paste.
And now we are ready and I just chose to fully clean the drive:

At this point, I feel I am becoming a pro 🤣
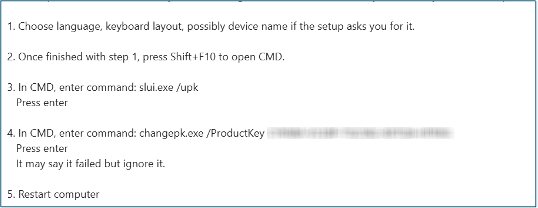
Niehaus now reminded us of the following:
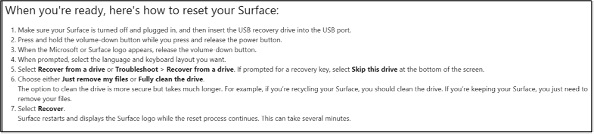
7 steps here so we are now up to 27 different steps!
Now it is looking promising:
And just when I think I am finished, there are even more steps: 28-32.
Guess what the problem is now? I have a Canadian machine and I could not do step 3 as the multilingual keyboard did not work for the backslash. I used every control key possible and Googled the hell out of it, but it did not work. I finally was able to change it to a US keyboard since I installed two keyboards at setup, and it finally worked!
And hurrah, I did it! What a nightmare – I would not want anyone to go through it!
My Windows recovery experience generated several insights:
- Positive - The process did start the Windows image download, and it all worked over Wi-Fi.
- Positive – Great learning and we will fix this in our DeployR solution for ARM devices.
- Positive - We at 2Pint Software are eating our own dog food and I am so pleased. However, no one can compare this to our DeployR solution and automation.
- Negative - The recovery process is awful and no end user would ever want or even be able to do this.
- Negative – You cannot rely on a USB stick, and to find one of that size unless mass shipped to all users is not possible...AND try to get this past the security team in a large enterprise and if regulated, not possible.
- Negative – There were 32 steps in this process and it took 2 full days. It took 7 hours just to build the Recovery USB and I had to do this twice – 14 hours!
- Negative – There is a high cost for the service desk, I reached out to my L3 engineers many times in this process.
- Negative - For ARM64, drivers in WinPE are a challenge.
Disaster recovery plans often neglect the recovery of endpoint devices and key requirements such as the ability to achieve recovery at scale, build in any scenario anywhere, and ease of process for the end user. In relation to these devices, the primary recovery plane for endpoints should be bare-metal, pre-boot, attestable re-imaging at scale with minimal dependencies on the (possibly compromised) OS, tenant, or local infrastructure. In practice, that means the ability to boot to WinPE over HTTPS and reimage at scale to full OS. It means using peer-assisted content to void WAN saturation that results in network outages. It means the possibility of building on-site or at tertiary locations e.g. at home.
Here is where 2Pint Software’s iPXE Anywhere in conjunction with DeployR offers a unique solution. Together, they deliver a mass-reimage solution via iPXE Anywhere using HTTPS boot to a clean WinPE segmented environment and the ability, with DeployR, to deploy Windows 10 and 11 images (either your own custom images or standard Microsoft ones) as well as Linux, ChromeOS and other operating systems. It can inject drivers (either that you provide and manage, or that are automatically downloaded from the OEMs) and install applications to fully provision the device. If preferred, it can hand off the process to Windows Autopilot and re-enroll the devices.
With 2Pint Software this unique solution can be air-gapped to provide a resilient setup – for all operating systems and a vendor-agnostic hardware platform.


By David Meurer

By Michael Niehaus

By Michael Niehaus

By Michael Niehaus